
Use this guidance if you access GC Notify on a web browser. Developer guidance is in the API documentation.
To use GC Notify:
Step 1. Use a template
All GC Notify messages start with a template. You must either create a new template or choose a template you’ve already created.
Use the toolbar for formatting, such as bolds and bullets, in email messages. For guidance on using markdown instead of the toolbar, read Using markdown for email messages.
You cannot use formatting in text messages.
Step 2. Prepare template for custom content
GC Notify can send similar messages with custom information for each recipient.
The guide Sending custom content has sections about how to:
- Use variables for custom content
- Filter content to recipients who meet a condition.
Step 3. To send to many recipients at once, use a spreadsheet
The guide Using a spreadsheet has sections about how to:
- Create spreadsheet columns for custom content
- Filter spreadsheet content to a subgroup of recipients
- Upload spreadsheet and preview messages
- Customize links
You may not need a spreadsheet if your team includes developers. Developers can send to multiple recipients through the API. The API documentation has a section about how to send a message.
Step 4. Check delivery details
GC Notify’s dashboard has a section for the number of email messages and a separate section for the number of text messages.
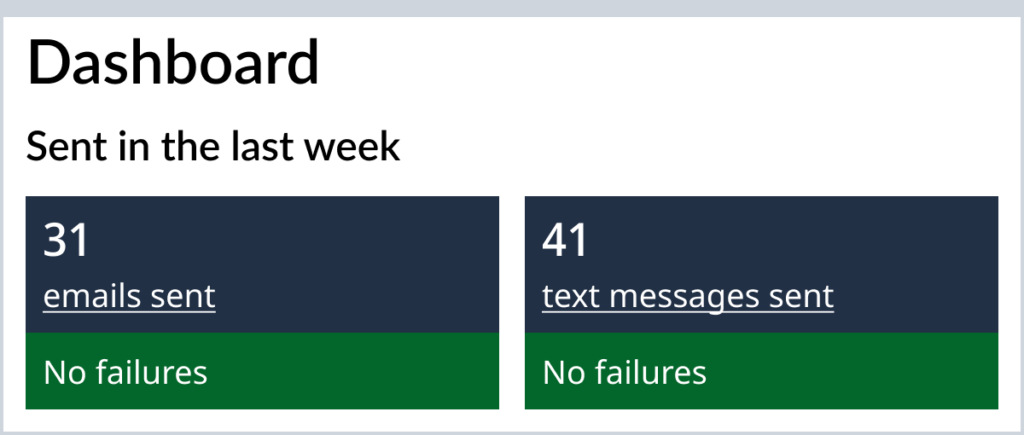
You can use the numbers as a link to navigate to a new page with more details. The new page shows you how many messages are in transit, delivered or failed. On that page, you can prepare the information to download as a report. Then select “Visit delivery reports” at the bottom of the page. GC Notify will navigate to a new page from where you can download the report and check view the download deadline.
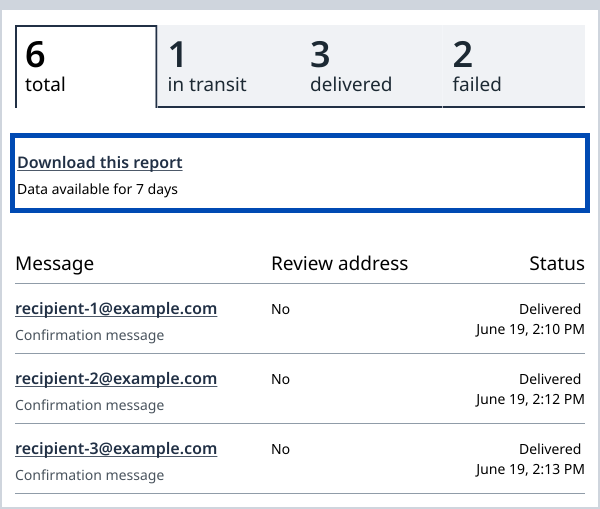
You can filter the page to show only problem addresses or problem phone numbers. Use the status column to decide how to treat each problem. To learn how, read the guide Understanding delivery and failure.
You’ll minimize failures by maintaining accurate contact information for recipients. To learn how, read the guide Updating contact information.